
Crafting Quality Stickers: A Step-by-Step Guide
Introduction: As an illustrator and sticker enthusiast, I'm excited to share my sticker-making process with you! This is how I make the stickers I sell in my shop. Whether you're an artist looking to turn your illustrations into stickers or a beginner wanting to explore the world of DIY stickers, this step-by-step guide will help you create professional-quality stickers from start to finish.
Supplies You'll Need: Before we dive into the process, let's gather the essential supplies:
A Cricut machine (or Silhouette Cameo as an alternative)
A printer (even a basic one like my HP OfficeJet Pro 9010 will work)
Matte weatherproof sticker paper (I prefer the options available from Online Labels)
Clear vinyl laminate (I use Oracal Oraguard 210 Laminate from Creative Craft Vinyl, available in 8.5x11" sheets)
Now that we have our tools in place, let's proceed with the step-by-step guide:
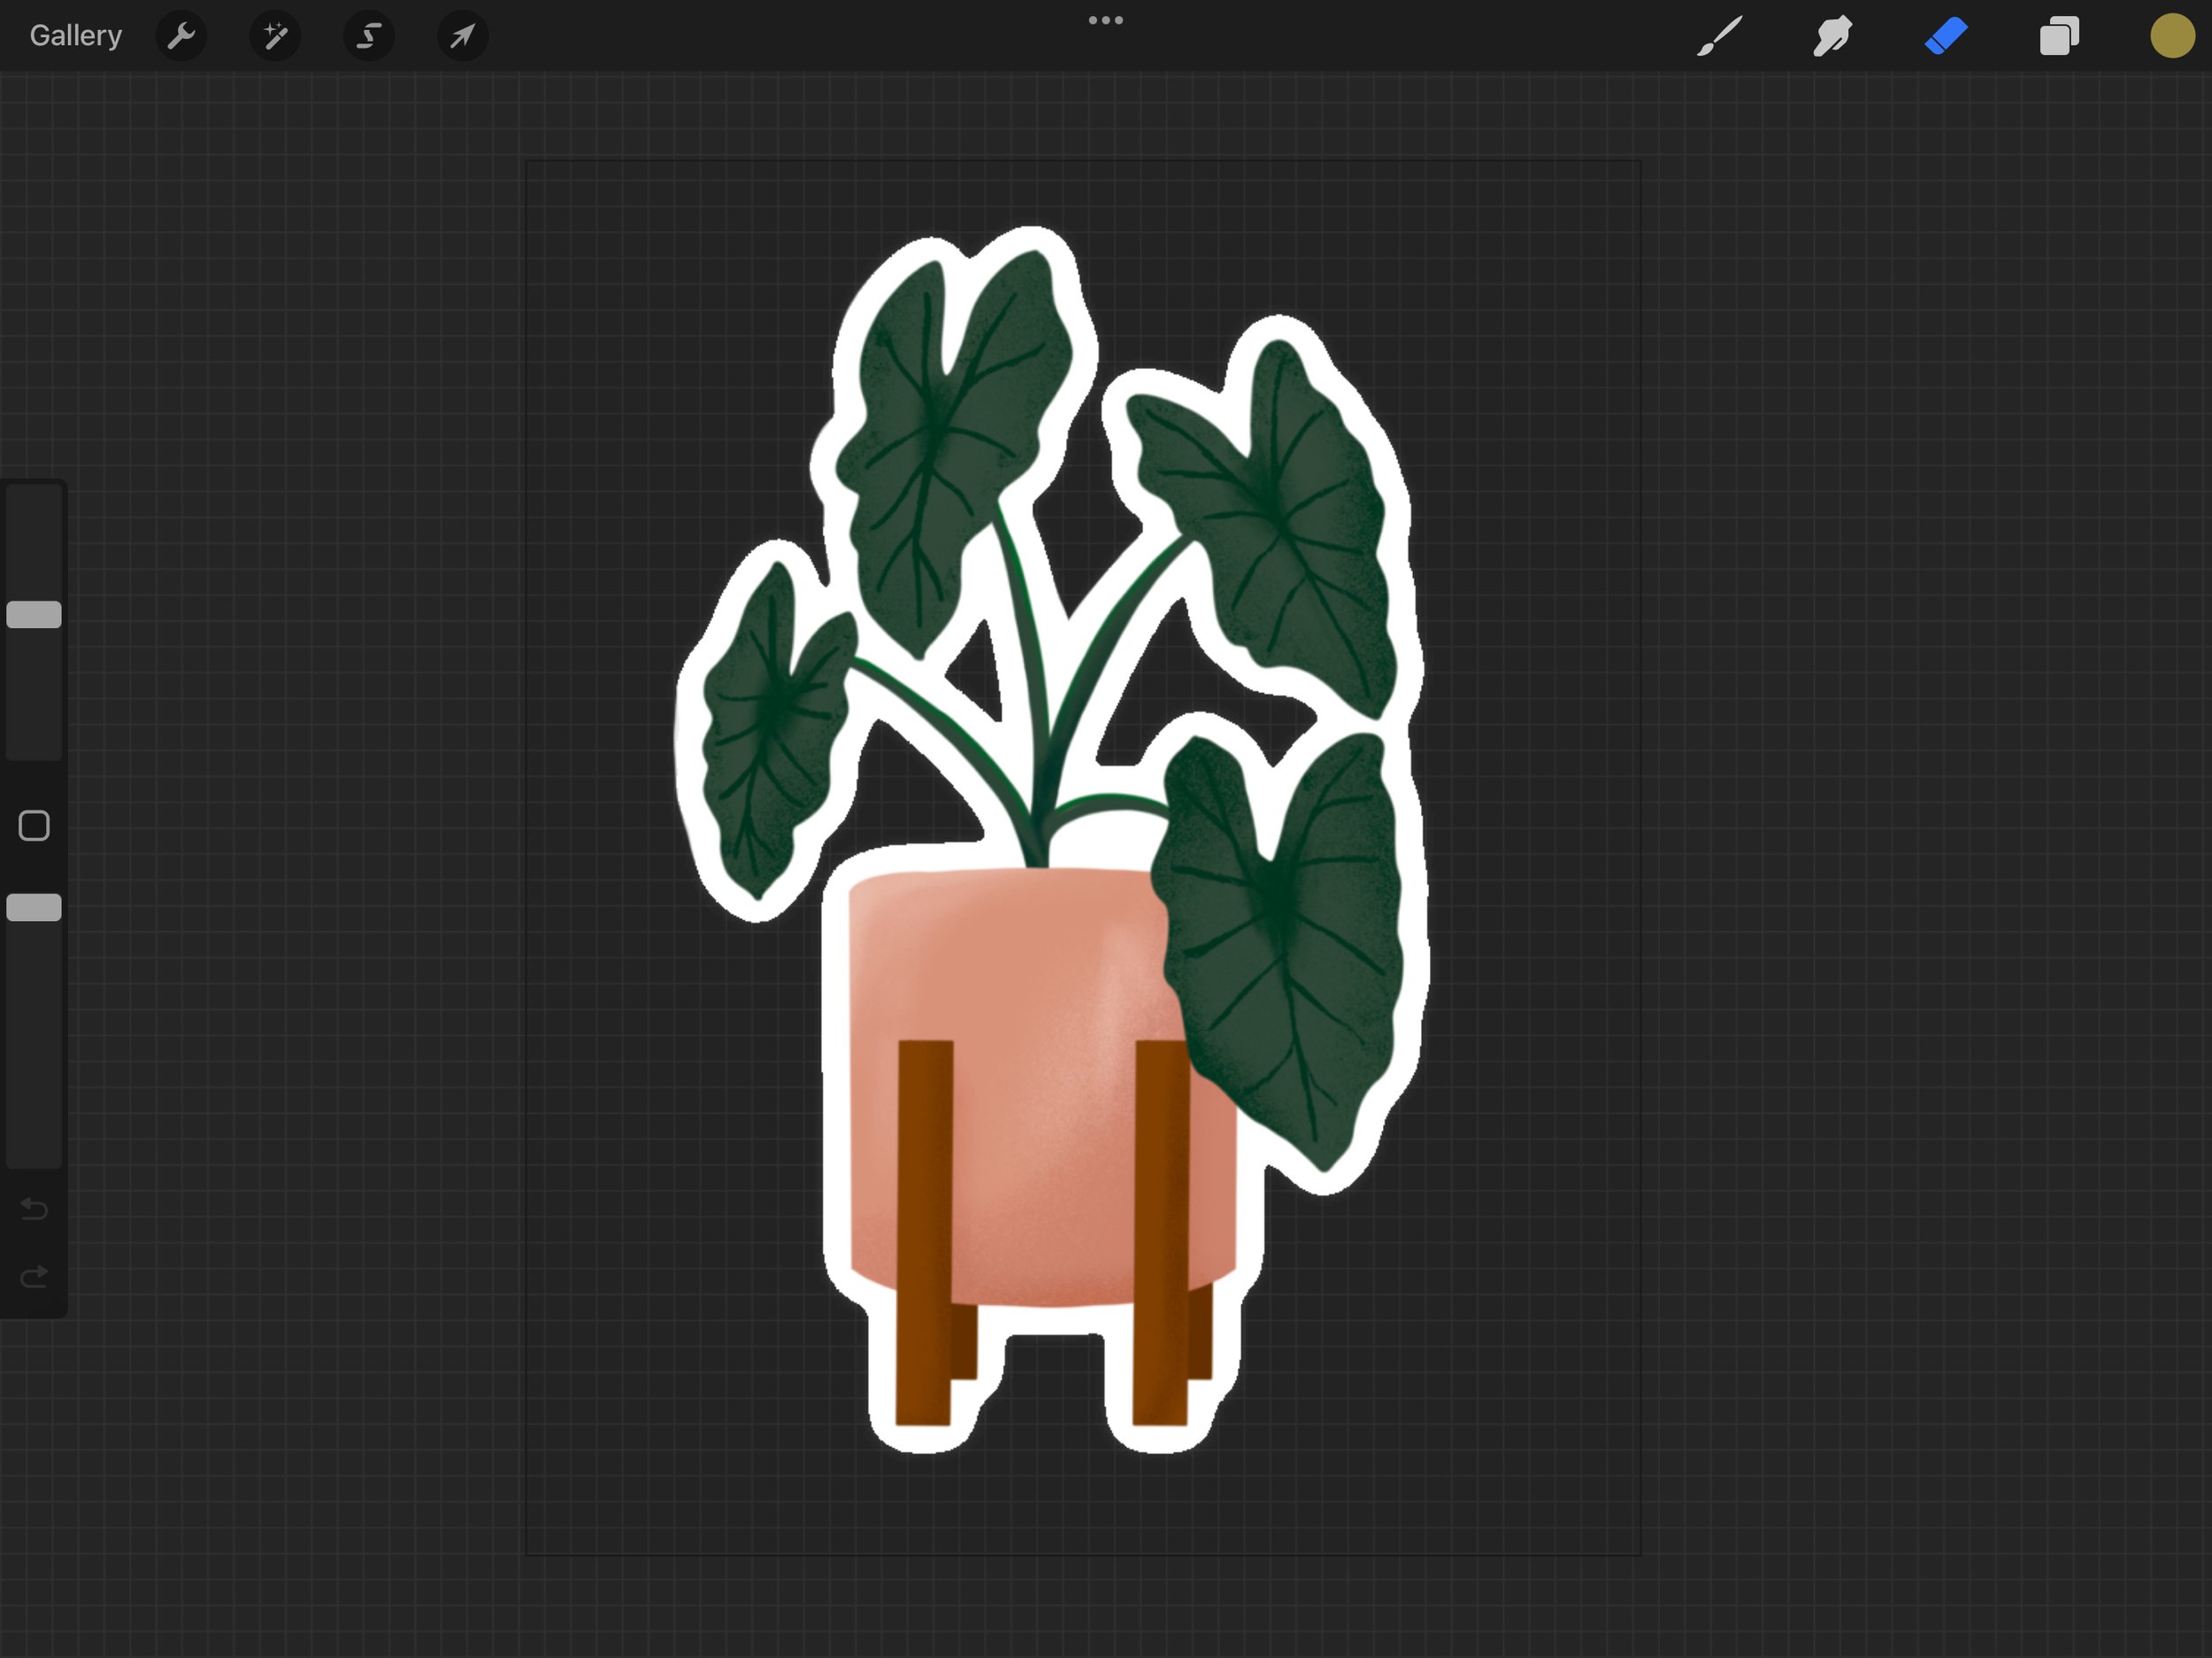
Step 1: Illustration Preparation Start by selecting an illustration that you want to turn into a sticker. If your illustration isn't initially intended for stickers, some file preparation is needed. Here's how I do it using Procreate:
Isolate the desired illustration, removing any unwanted background.
Create a transparent background for your illustration.
Add an even border around your illustration. It can be white or a color that complements your artwork.
Export the file as a PNG (important for maintaining a transparent background).
Step 2: Setup Now, we'll transition to Cricut Design Space to prepare the file for cutting:
Import your prepared PNG file.
Determine the size of your stickers and arrange them on the virtual canvas to maximize the sheet's use.

Step 3: Printing and Laminating Print the sheet with the highest quality settings on your printer. The next part can be a bit tricky but is essential for quality stickers:
Carefully apply the clear vinyl laminate on top of the printed sheet. Ensure it's even and free of wrinkles. This step is crucial for weatherproofing and protecting your stickers.

Step 4: Cutting Place your prepared sheet on a Cricut mat and load it into the machine. The Cricut machine will automatically detect the markings on the sheet and precisely cut your stickers.

Step 5: Enjoy Your Stickers Once the Cricut machine finishes cutting, carefully remove the stickers from the mat. It's an immensely satisfying moment to see your creations come to life!

Creating your own stickers using this method is not only cost-effective but also allows you to have full control over the quality and quantity of your stickers.
Have you ever tried making stickers? I'd love to hear about your experiences and answer any questions you may have as you embark on your sticker-making journey! Feel free to reach out and share your creations with me. Happy crafting!